
Branding your forms: what you can change and where
Overview. Your clients fill in your forms before they verify their identity, so those forms are the first thing they see from you. IdentityCheck lets you brand each form with your logo, your colours, your font and a background, and add your logo to the public intake page. This article explains what you can change, where each setting lives, and what your clients will see.
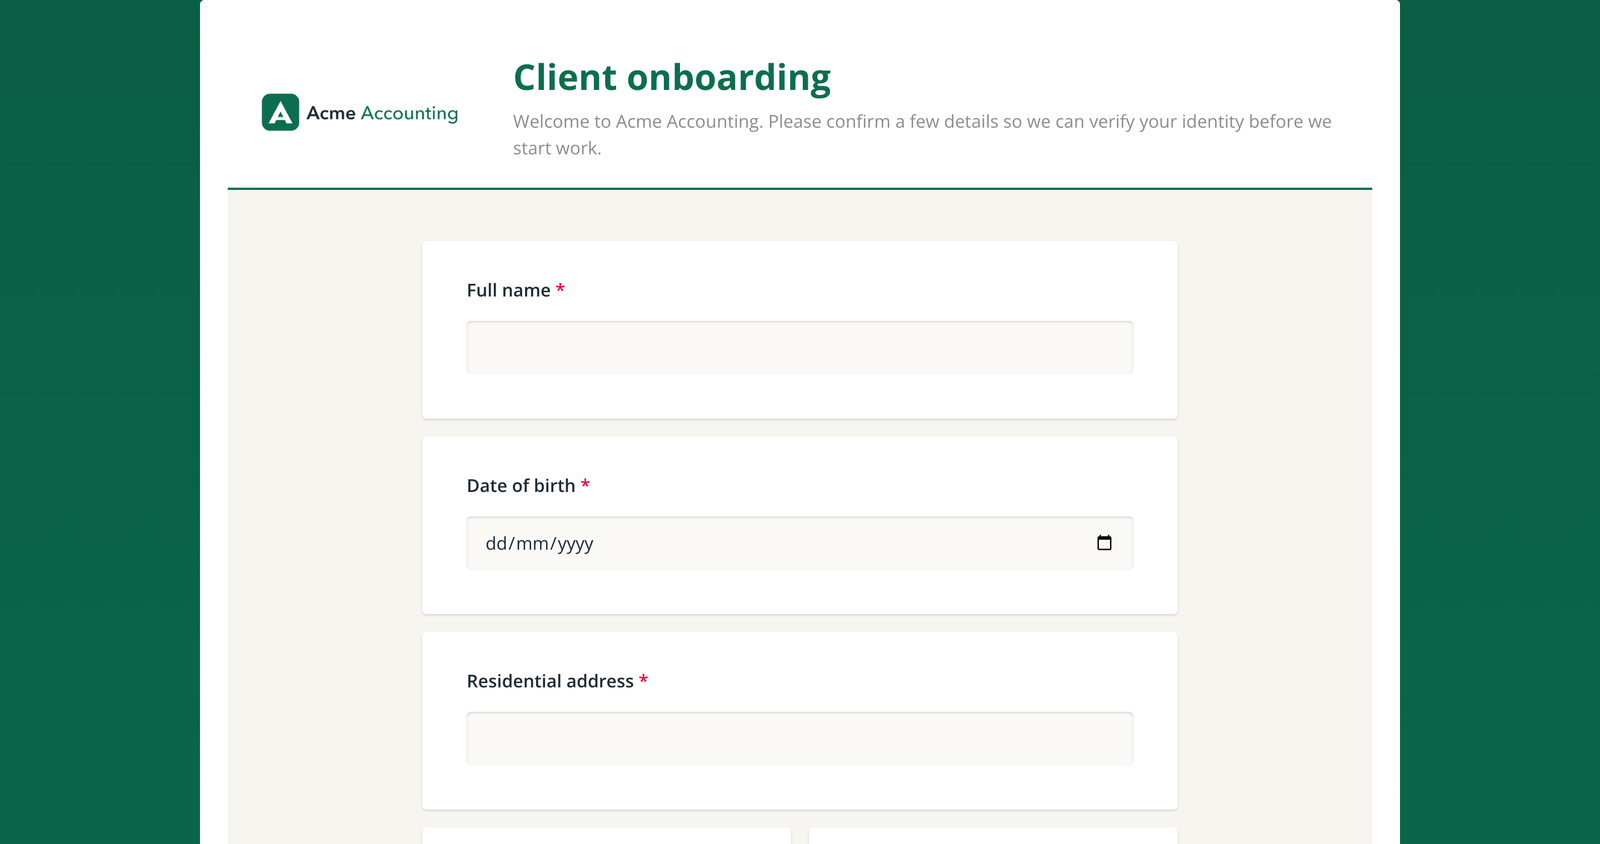
What you can brand
| What | Where to find it | What it changes |
|---|---|---|
| Colours, font and background | Account, Forms, open a form, Themes tab | That form's accent colour, background, font, corner radius and question style. The accent colour also tints the page around the form. |
| Logo and images | Account, Forms, open a form, Designer tab, Survey logo | The logo at the top of that form, and any image questions. |
| Public intake page logo | Account, Tranche 2 card, Manage, Public intake link panel | The logo at the top of your public intake page. |
| Email logo | Account, Emails (Custom Emails) and Reminders | The logo in your verification and reminder emails. See Adding your firm's logo and branding. |
Forms are managed by account admins. You find them under Account, then the Forms tab.
Branding is set on each form
There is no single brand setting for the whole account. Each form keeps its own theme and logo, so a new form starts in the standard styling until you brand it.
On a Tranche 2 journey, your client usually sees more than one form. Brand each one they see, at least your consent and intake forms. The colour of the page around the forms comes from your consent form's theme, or from your intake form's if the consent form has none, and your public intake landing page uses the same colour.
Always click Edit first, then save
Forms open read-only. To change anything, click Edit at the top of the form, make your changes, then click the save (disk) icon. Your questions and your theme save separately: the save icon in the Designer tab saves your questions and logo, and the save icon in the Themes tab saves your theme. Nothing saves automatically. The full steps are in Editing a form: click Edit first, then save.
What your clients see
- Your form, in your brand. Your logo, accent colour, background and font on every form you have branded.
- Your public intake page, in your brand. Your public page logo, or your email logo if you have not set one, and your accent colour.
- IdentityCheck for the identity check itself. The step where your client photographs their ID and takes a selfie keeps the IdentityCheck look, as do the report PDF and the button in your verification emails. Clients recognise it as a secure, independent check.
In this section
- Editing a form: click Edit first, then save
- Changing a form's colours, font and background
- Adding your logo and images to a form
Frequently asked
Can my forms use my firm's colours and font? Yes. Each form has a Themes tab in the form builder where you set an accent colour, background, font and corner style. The theme is saved with that form, so set it on each form your clients see, such as your consent and intake forms.
Is branding set once for the whole account? No. Colours, font and background are set per form, in that form's Themes tab. Your email logo is set once in Custom Emails, and your public intake page has its own optional logo in Tranche 2 settings.
Does my branding change the ID and selfie step? No. The identity verification session, the report PDF and the button in verification emails keep the IdentityCheck look. Your branding applies to your forms, your public intake page and the logo in your emails.